Sod Installation Made Easy
Want a lush lawn without waiting for grass seeds to sprout? The best solution is installing sod on your lawn. If you already have a lawn but it’s not meeting your expectations, learning how to lay sod over existing lawn can save you effort and time.
Prepping is Key
Preparation is the first step in the sod installation process. Mowing your existing grass as short as possible is critical. This creates a flat surface for the new sod to take root. Ensure debris such as rocks and large soil clumps are removed, too.
Laying New Sod
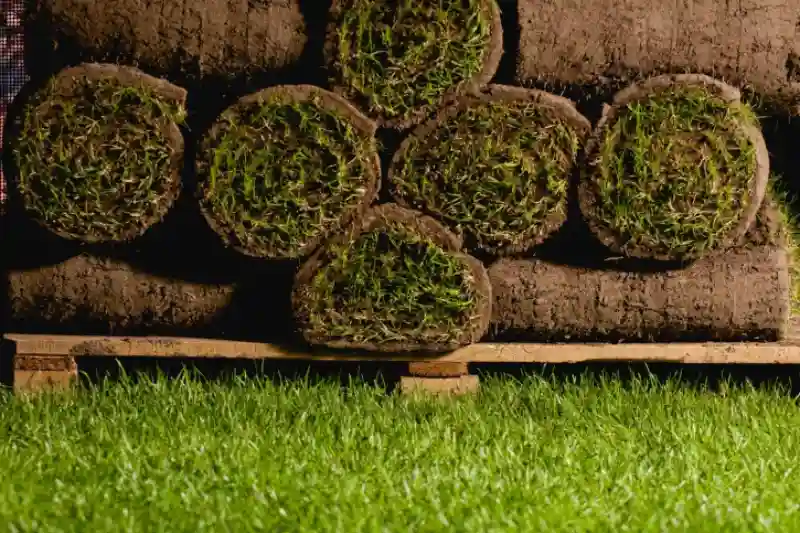
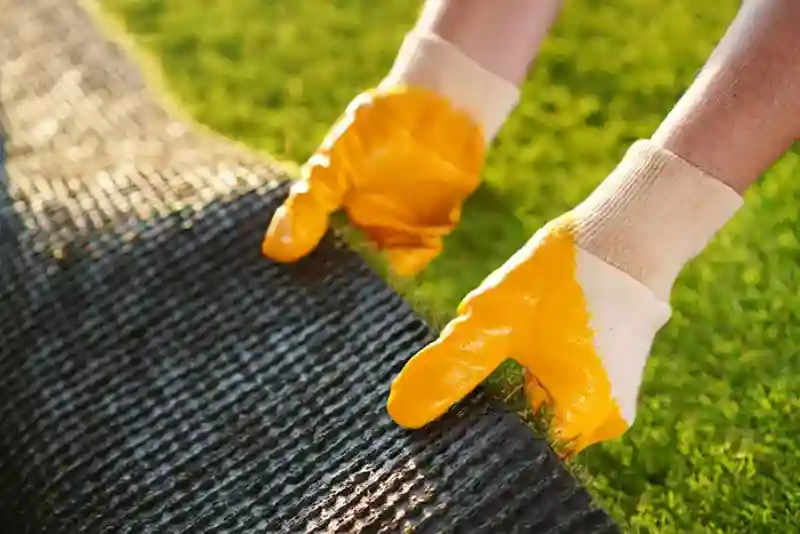
Once your yard is prepped, it’s time to lay down the sod. Begin by unrolling sections of sod along a straight edge, like a driveway or sidewalk, for an even starting point. Ensure that you stagger seams in subsequent rows much like how bricks are stacked. This will help create stronger connections between pieces and provide more stability.
- Start at the edges of your lawn and work inward.
- Fit pieces together like puzzle pieces, ensuring no gaps.
- Stagger seams like bricks to prevent lines from forming.
- Avoid overlapping pieces, as it can create issues with rooting.
Caring for Your New Lawn
Your sodded lawn needs attention to establish itself fully. Water frequently but avoid overwatering which might cause rot or fungus. Typically, twice daily watering is recommended during the first two weeks. Afterward, decrease frequency but increase duration to deepen root growth.
- Water early in the morning and late afternoon.
- Apply a starter fertilizer suited for new sod lawns.
- Avoid heavy foot traffic until roots establish properly.
Get to Know How to Lay Sod Over Existing Lawn
If you’re in Hesperia, CA and need expert assistance with installing sod if you don’t have to learn how to lay sod over existing lawn, contact TranquilTurf Landscaping as soon as possible at (760) 286-9680. Our team offers professional services ensuring your lawn looks its best year-round.

